City skylines are rich, graphic, and instantly evocative. As teaching tools they combine visual design, geography, history, and math. A well-designed skyline puzzle helps students learn to recognize landmarks by silhouette, understand relative scale, and practice spatial reasoning. Below is a practical guide to creating skyline-based puzzle projects suitable for classrooms, maker spaces, or at-home learning.
Learning goals
- Recognize architectural silhouettes: Identify landmarks using simplified shapes rather than surface detail.
- Understand scale and proportion: Compare relative heights and widths of buildings and learn basic scaling methods.
- Develop spatial reasoning: Complete puzzles that require matching, rotation, and layering.
- Connect history and place: Use each landmark as an entry point to discuss local history, function, and design intent.
Choose your project format
Pick one of three practical formats depending on time, materials, and age group:
1. Silhouette jigsaw (2D)
A large printed skyline silhouette cut into jigsaw pieces. Best for younger students and quick classroom sessions.
2. Layered skyline board (relief)
Multiple laser-cut or hand-cut layers that stack to show foreground and background. Good for demonstrating depth and relative scale.
3. Modular 3D landmark blocks
Individual blocks or 3D-printed pieces representing simplified building volumes. Works well for older students learning scale, model-making, and assembly sequencing.
Materials and tools
- Cardboard, plywood, or foam board (for 2D/relief pieces)
- Paper and cardstock for prototypes
- Basic tools: utility knife, cutting mat, ruler, pencil
- Optional: laser cutter or CNC for precision parts
- Paint, markers, or colored veneers for finishing
- Glue, Velcro dots, or small dowels for stacking/attachment
- Printed reference images of chosen landmarks
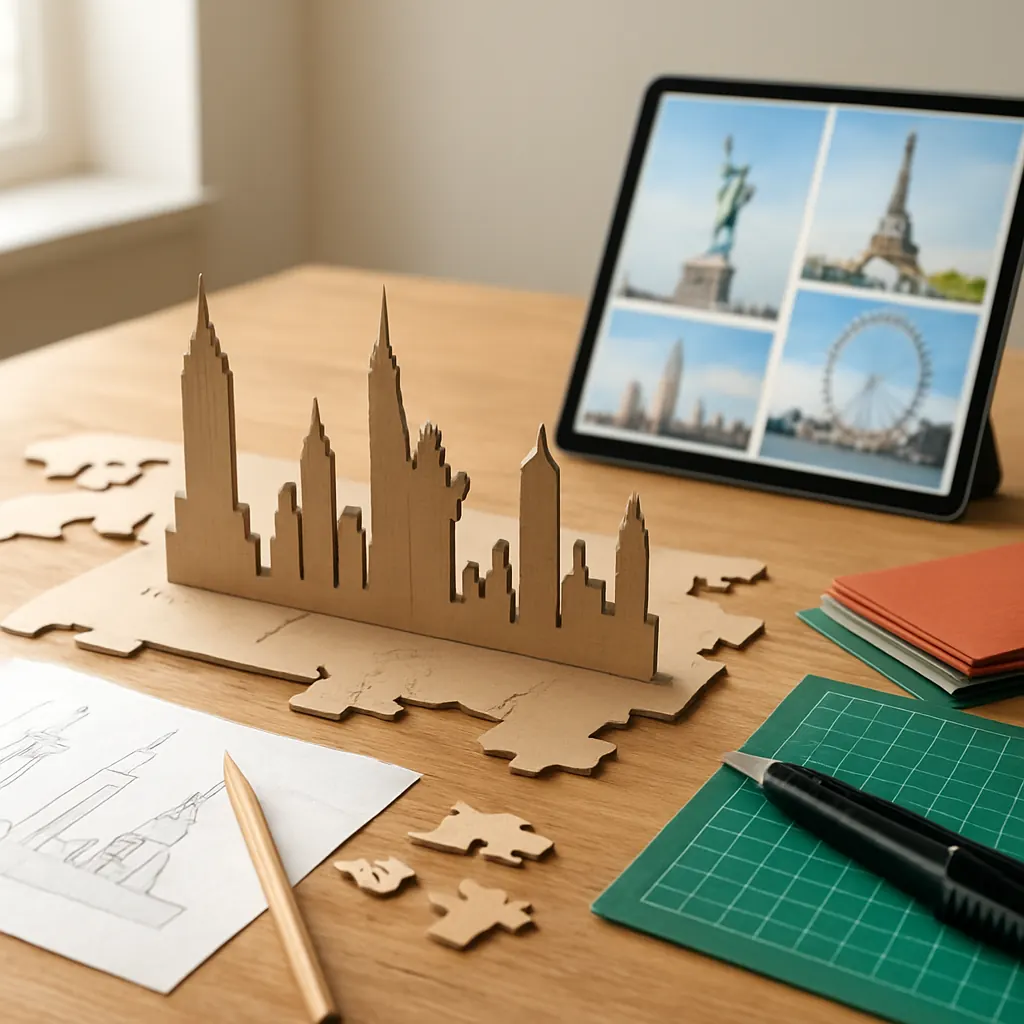
Design process: from photo to puzzle
- Select a manageable set of landmarks: Choose 6–12 buildings that form a recognizable skyline and represent diverse architectural types (towers, domes, bridges).
- Gather high-contrast references: Use side-view or skyline photos where silhouettes are clear. For very detailed facades, favor skyline shots that emphasize overall massing.
- Create silhouettes: Trace the outer contour of each landmark to produce a simplified silhouette. Remove small articulations that won’t cut or read at puzzle scale.
- Balance recognizability and simplicity: Keep one or two signature features (spires, domes, archways) that make the landmark identifiable while removing noise.
- Compose the skyline: Arrange silhouettes on a base shape so that overlaps create a continuous skyline. For layered projects, assign pieces to foreground or background layers according to depth.
Scaling landmarks accurately
Absolute scale is less important than meaningful relative scale. Use the following approach:
- Find a reliable height or width value for each landmark (official building heights are usually available online).
- Choose a base scale (for example, 1:2,000 for a classroom board). Convert landmark heights into the chosen units so relative differences are preserved.
- When exact proportions cause impractically small or large pieces, use “visual scaling”: compress or expand non-critical dimensions while keeping signature proportions intact.
For young students, simplified categorical scales (short, medium, tall) can be sufficient; older students can calculate and plot proportional heights using rulers and graph paper.
Shape simplification rules
- Preserve the outline: Keep the outer edges that define the landmark’s silhouette.
- Reduce detail: Eliminate small fenestration and decorative patterns that won’t read at puzzle scale.
- Exaggerate identifying elements: Slightly emphasize spires, domes, and arches so they remain visible after cutting.
- Mind negative space: Ensure interior cutouts and gaps are large enough to be stable and recognizable.
Classroom activity ideas
Activity A — Landmark detective (ages 7–10)
- Students assemble silhouette puzzle in small groups.
- Groups match each piece to a photo set, then research one fun fact about that landmark.
- Share discoveries and vote on the most surprising fact.
Activity B — Scale math lab (ages 11–14)
- Provide landmark heights and a base scale.
- Students calculate scaled heights and sketch their skyline on graph paper.
- Compare sketches to the physical puzzle and discuss compromises made during visual scaling.
Activity C — Design challenge (ages 14+)
- Students design a new landmark to fit into the skyline, sketch to scale, and produce a prototype using cardboard or 3D print.
- Present the design and discuss how form, function, and context influenced choices.
Assessment and differentiation
Assessment can be formative and project-based. Use rubrics that measure:
- Accuracy of silhouette recognition and landmark matching
- Correctness and reasoning in scale calculations
- Quality of craft and structural stability of constructed pieces
- Depth of historical/contextual research in presentations
Differentiation strategies:
- Provide pre-cut silhouettes or reduced piece counts for younger learners.
- Offer extension tasks like digitizing silhouettes for vector editing for more advanced students.
Extensions and cross-curricular links
- History: Investigate how each landmark’s era influenced its form and materials.
- Art & design: Explore negative space, figure-ground relationships, and composition.
- STEM: Convert skyline data into simple spreadsheets and charts that compare heights and ages.
- Technology: Scan silhouettes and create digital puzzles or interactive web versions.
City skyline puzzles are flexible teaching tools that unify visual literacy, place-based learning, and hands-on making. Whether you build a simple silhouette jigsaw or a stackable set of landmark blocks, the core learning—seeing and reasoning with shape and scale—remains the same. Start with a small, well-curated selection of landmarks, prototype on paper, and iterate. The result will be a tactile, memorable way for students to learn architecture as both form and story.